
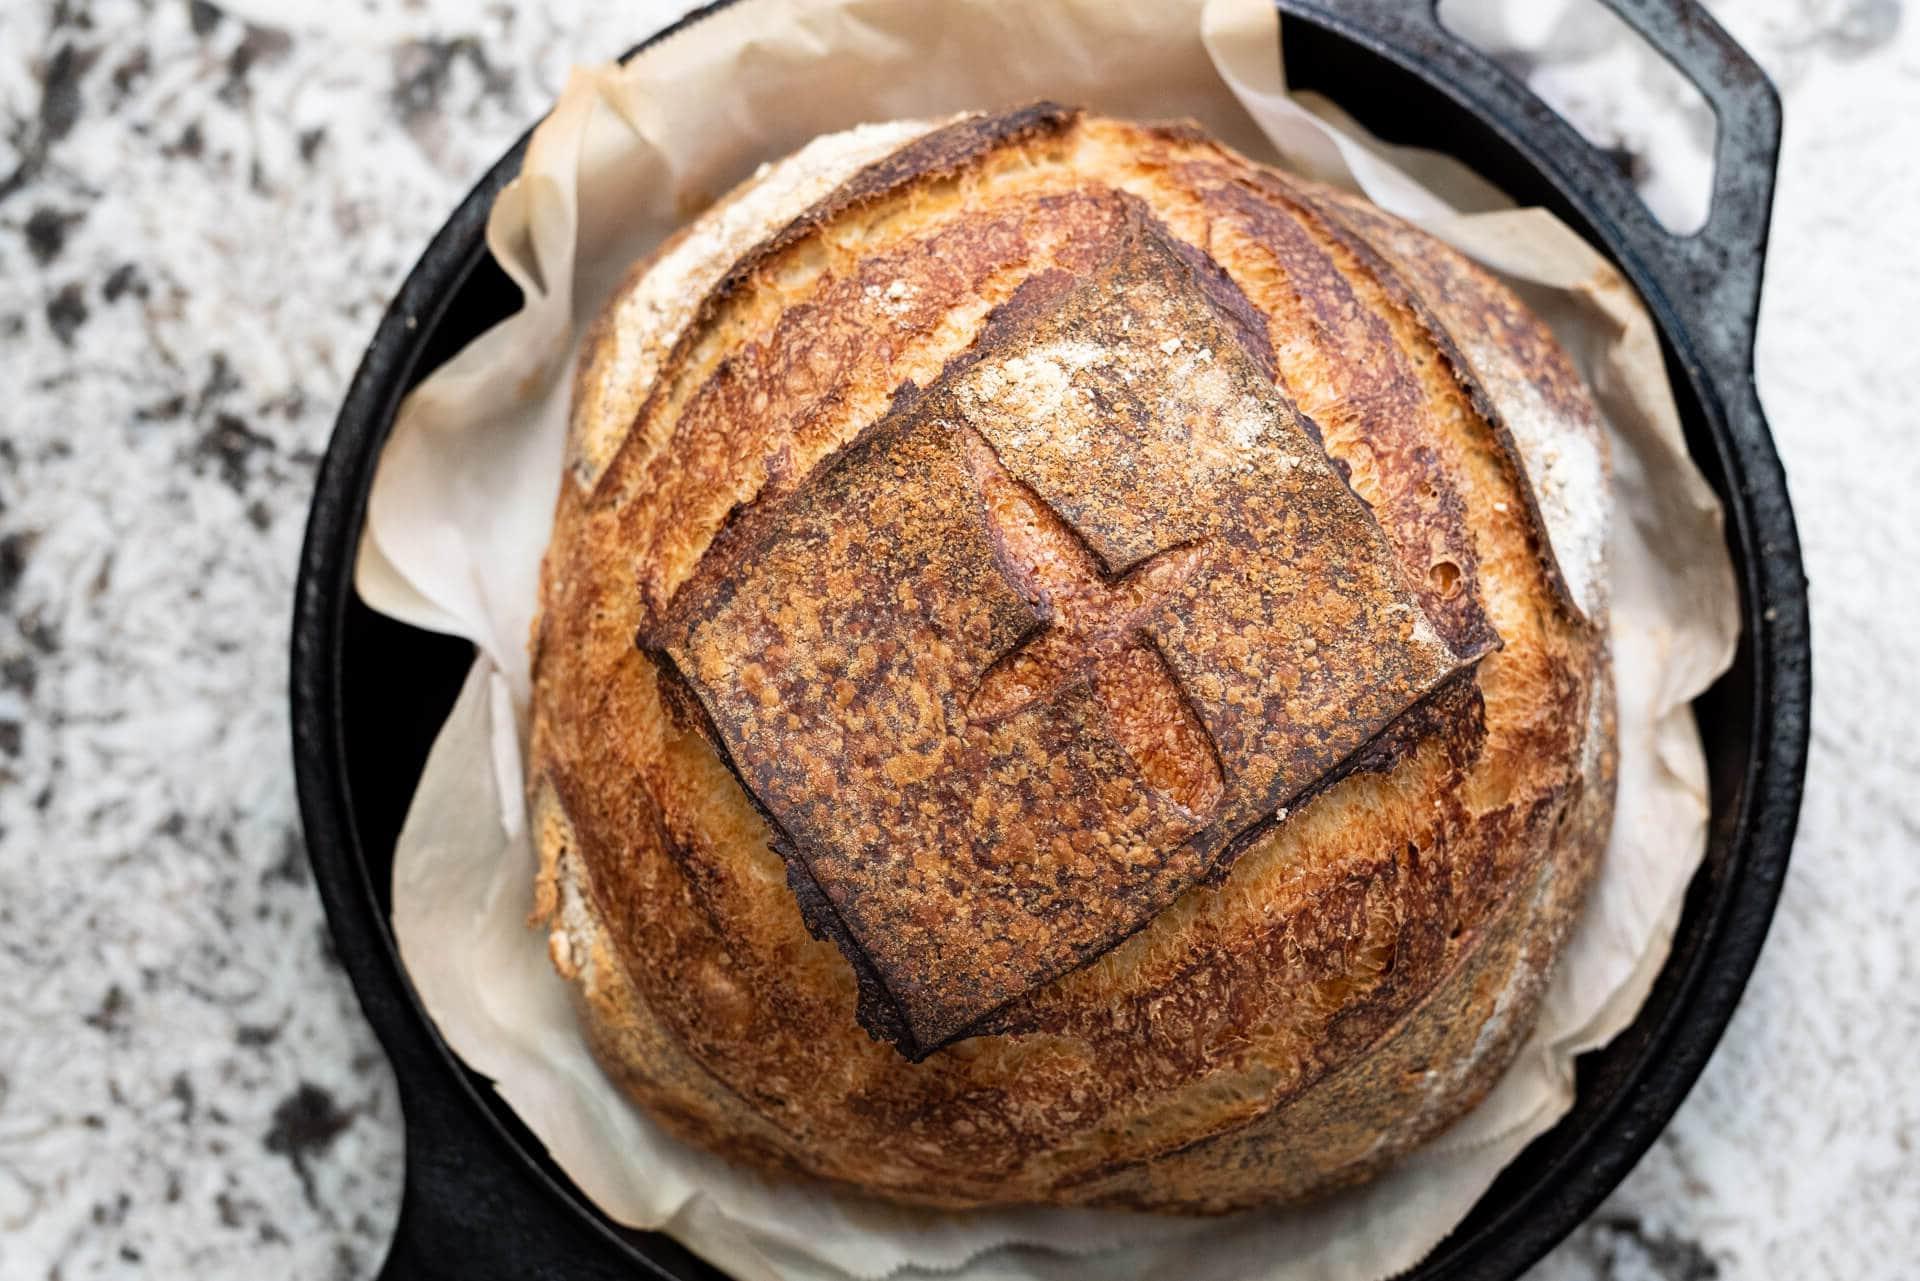
Dutch Oven Bread Sticks are a classic and delicious addition to any meal or snack. They are easy to make at home using your favorite dough recipe, and a Dutch oven is the perfect tool to achieve a crispy exterior and soft interior. These bread sticks are not only perfect for serving as an appetizer or side dish, but they also make for a great snack or light meal when served with a salad or soup.

Dutch oven Bread Sticks
Equipment
- 1 Dutch Oven
Ingredients
- 1 can prepared pizza crust
- 1 tbsp butter
- 1/2 cup shredded provolone cheese
- 1 tbsp parmesan cheese
- 1 tbsp basil
Instructions
- Melt the butter
- Unroll the pizza crust onto a flat surface and brush with butter.
- Sprinkle the cheese, spices, and salt evenly over the dough
- Cut the dough in half parallel, then cut each half vertically into 12pieces each
- Preheat the fryer to 400 degrees
- Working in small batches and giving the breadsticks room, cook for 12 minutes, flipping the sticks at the 10-minute mark
Video
Notes
Nutrition
FAQs about Dutch Oven Bread Sticks
Q: How do I make Lemony Green Beans?
A: To make Lemony Green Beans, start by blanching fresh green beans in boiling water for a few minutes until they are tender but still crisp. Drain and transfer the green beans to a bowl of ice water to stop the cooking process and preserve their vibrant color. In a separate bowl, prepare a dressing by whisking together freshly squeezed lemon juice, olive oil, minced garlic, salt, and pepper. Drain the green beans and toss them with the lemon dressing until evenly coated. You can serve them immediately or refrigerate for later use.
Q: Can I use frozen green beans for this recipe?
A: While fresh green beans are recommended for the best texture and flavor, you can use frozen green beans if fresh ones are not available. Just make sure to thaw and drain the frozen green beans before blanching them in boiling water and proceeding with the recipe.
Q: How long can I store Lemony Green Beans?
A: Lemony Green Beans can be stored in an airtight container in the refrigerator for up to 3-4 days. However, it is best to consume them within the first couple of days to enjoy their optimal flavor and texture.
Q: Can I add other ingredients to the Lemony Green Beans recipe?
A: Absolutely! Lemony Green Beans can be a versatile side dish, and you can customize it by adding various ingredients. Consider incorporating toasted almonds or pine nuts for a nutty crunch, crumbled feta cheese for a creamy touch, or fresh herbs like chopped dill or parsley for added freshness and aroma. Feel free to experiment and tailor the recipe to your taste preferences.
Q: Can I make Lemony Green Beans in advance for a gathering or party?
A: Yes, you can make Lemony Green Beans in advance for a gathering or party. Prepare the blanched green beans and the lemon dressing separately, and store them in separate containers in the refrigerator. Toss them together just before serving to maintain their freshness and crunch. This way, you can save time and have a delicious side dish ready to go when your guests arrive.
Cooking tips
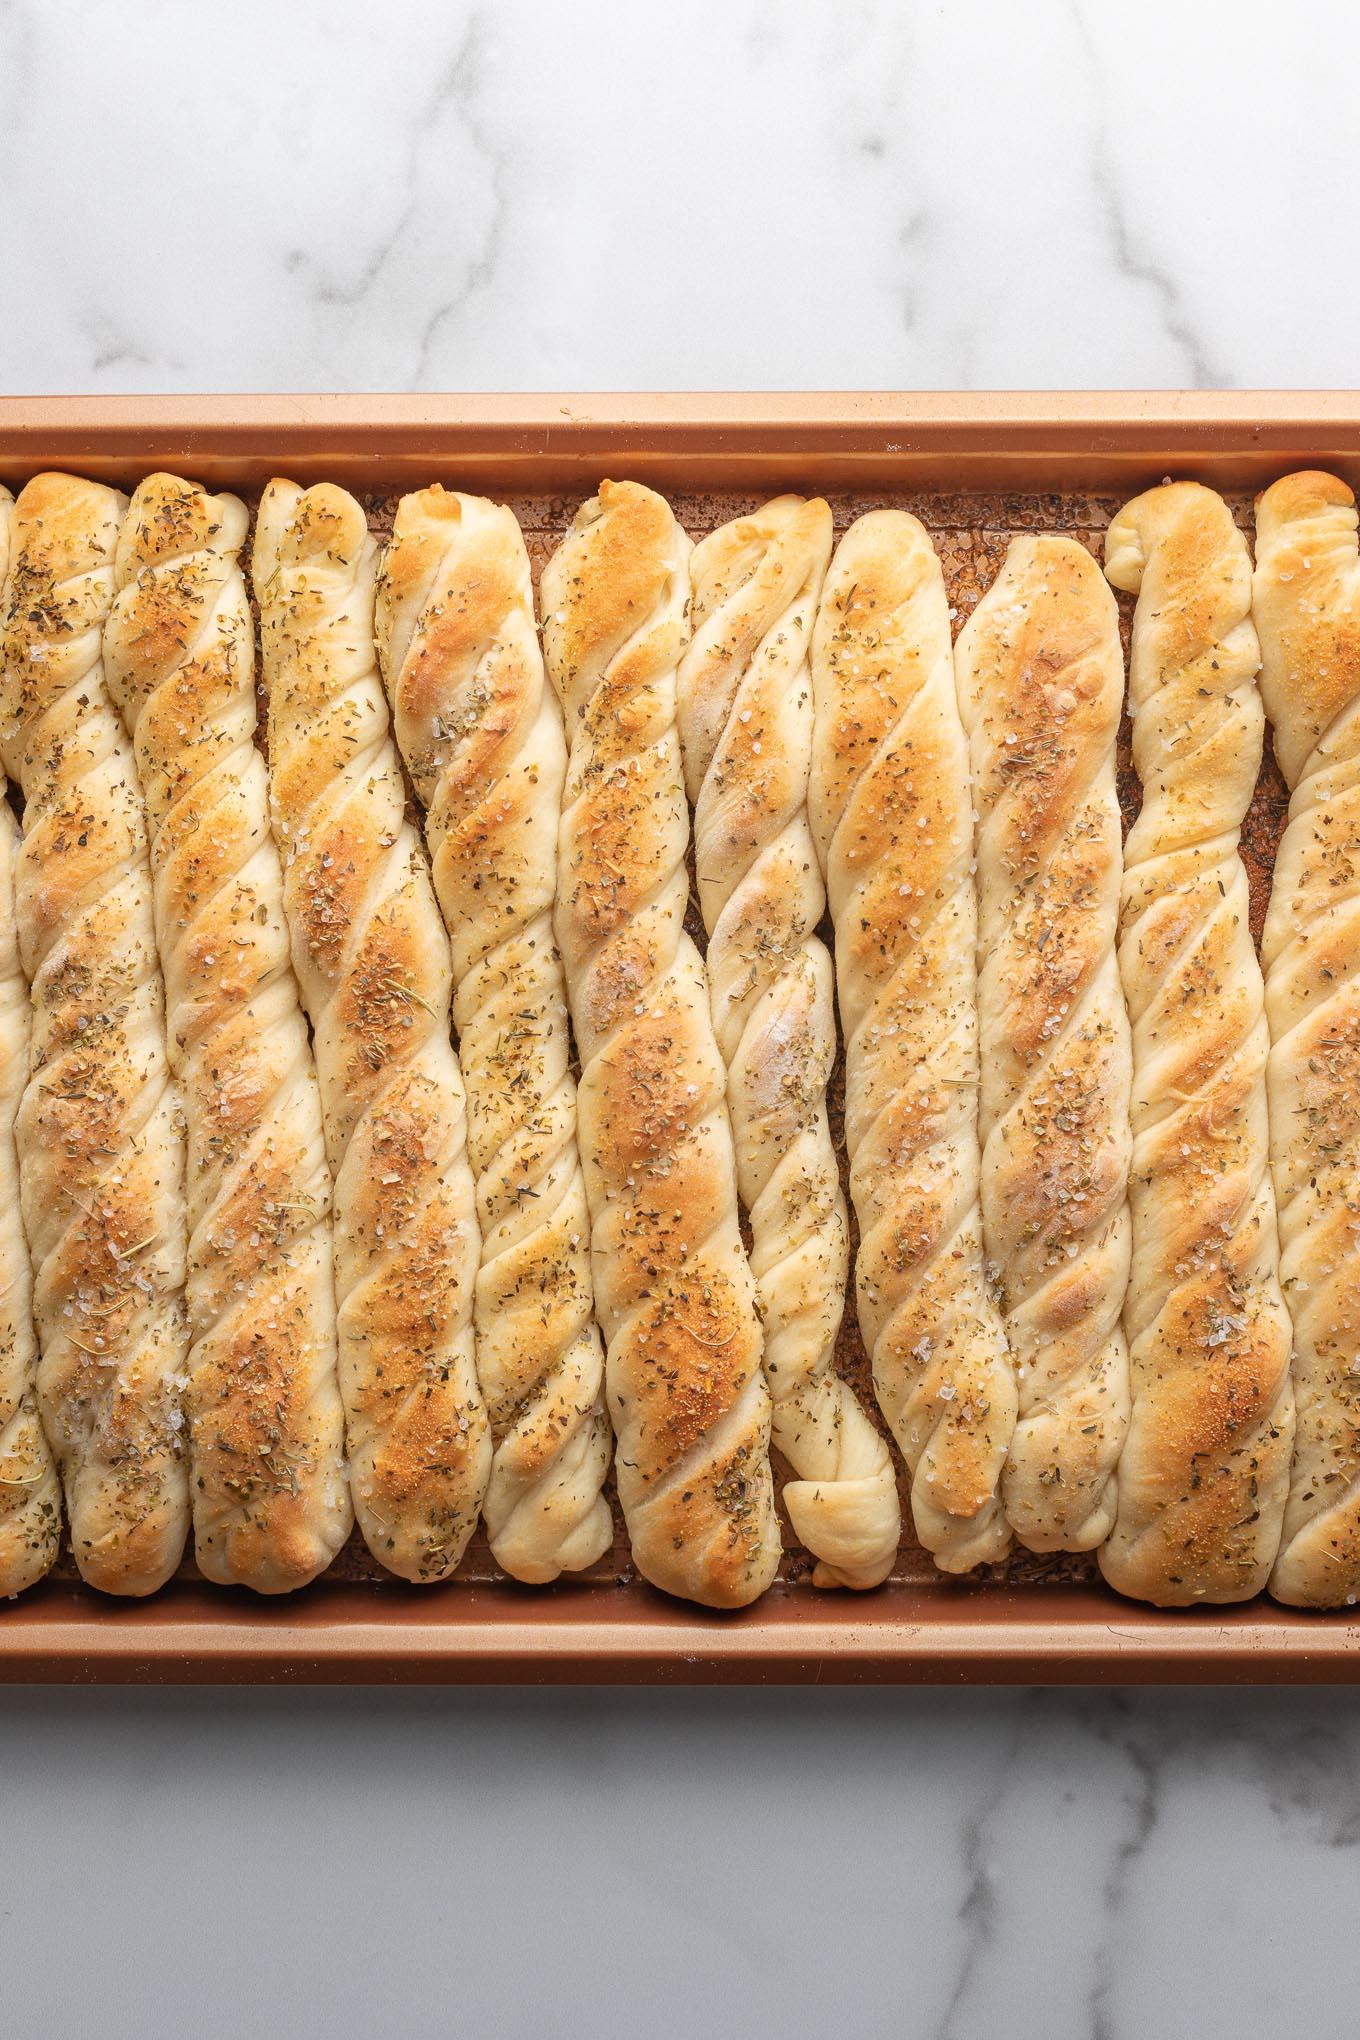
Here are some cooking tips for Dutch Oven Bread Sticks:
1. Preheat your Dutch oven: Before you begin preparing the dough, preheat your Dutch oven in an oven for about 30 minutes. This will ensure that your breadsticks cook evenly and have a crispy exterior.
2. Use a clean work surface: Make sure your work surface is clean and floured when preparing the dough. This will prevent the dough from sticking and make it easier to work with.
3. Roll your breadstick dough evenly: Roll the dough into long, even strips that are approximately 1-2 inches in width.
4. Add toppings: You can add a variety of toppings to your breadsticks, such as grated cheese, herbs, or garlic. Sprinkle toppings on top of the breadsticks before baking them in the oven.
5. Use parchment paper: Use parchment paper to line the bottom of your Dutch oven. This will prevent the breadsticks from sticking to the bottom while cooking.
6. Place breadsticks in the Dutch oven: Once your breadstick dough is rolled out and topped, gently place them in the preheated Dutch oven.
7. Bake in the oven: Bake your breadsticks in the oven for 12-15 minutes or until golden brown. Avoid opening the oven door frequently while cooking because this can lower the temperature and change the baking time.
8. Cool before serving: Allow the breadsticks to cool for a few minutes before removing them from the Dutch oven and serving. They will be hot straight from the oven!
I hope these tips help you make a delicious batch of Dutch oven breadsticks that you and your loved ones will enjoy!
Serving Suggestions
Serving Suggestions for Dutch Oven Bread Sticks:
1. Dipping Sauce Trio: Serve the bread sticks with a trio of dipping sauces such as marinara sauce, garlic butter, and a creamy cheese dip for a flavorful dipping experience.
2. Soup or Salad Companion: Pair the bread sticks with a warm bowl of soup or a fresh garden salad. They make a perfect accompaniment and add a satisfying crunch to your meal.
3. Cheese and Charcuterie Platter: Arrange the bread sticks on a cheese and charcuterie platter along with a variety of cheeses, cured meats, olives, and fruits. They can be used as edible utensils for scooping up delicious bites.
4. Sandwich Stuffers: Use the bread sticks as a base for creating mini sandwiches or sliders. Split them open and fill them with your favorite fillings such as deli meats, cheese, lettuce, and condiments.
5. Party Appetizer: Serve the bread sticks as a delightful party appetizer. Arrange them in a tall glass or a decorative container for easy grabbing. They can be enjoyed on their own or paired with various dips or spreads.
6. Bruschetta Bites: Slice the bread sticks diagonally and toast them lightly. Top the slices with fresh tomato, basil, mozzarella, and a drizzle of balsamic glaze for a tasty bruschetta-inspired snack.
7. Picnic or On-the-Go Snack: Pack the bread sticks in a picnic basket or a lunchbox for a portable and satisfying snack. They are great for munching on during outdoor adventures or as a quick bite during a busy day.
8. Cheese Fondue Partner: Serve the bread sticks alongside a warm cheese fondue. Dip them into the melted cheese for a delicious combination of flavors and textures.
9. Breadstick Pizza: Use the bread sticks as a crust alternative to make mini breadstick pizzas. Top them with marinara sauce, cheese, and your favorite pizza toppings, then bake until the cheese is melted and bubbly.
10. Brunch Delight: Incorporate the bread sticks into your brunch spread. Serve them alongside scrambled eggs, bacon or sausage, and fresh fruit for a savory and satisfying morning meal.
Remember to get creative and experiment with different serving suggestions to suit your taste and occasion. Enjoy your Dutch oven bread sticks in any way that makes your meal more enjoyable and delicious!